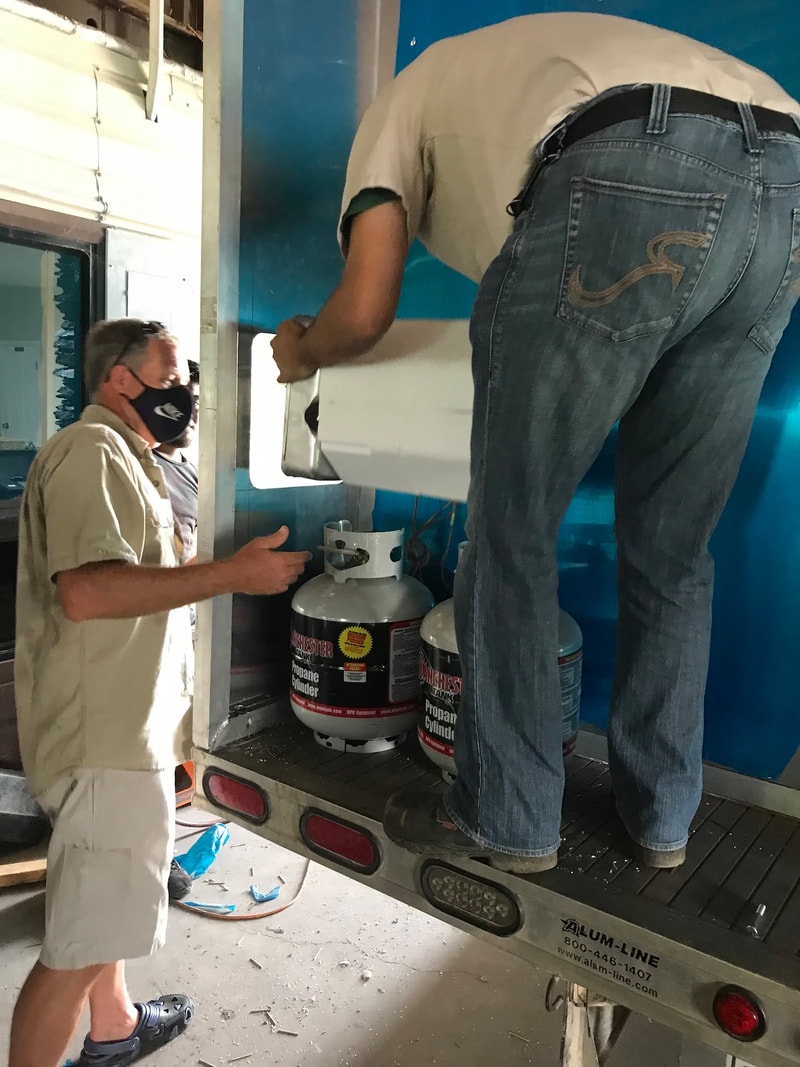
After visiting Koops’ on Friday and delivering all of the appliances, Tom scheduled to spend most of Tuesday there to do some more design, and to be available for questions. This turned out to be a very good thing, for two reasons.
First, when they put the appliances in the shell to make sure everything fit, they discovered that the refrigerator covered part of the “kitchen” window. We aren’t quite sure how we didn’t catch this on the many iterations of the design plans, but the upside was that it was only a few hours’ work (and a few hundred dollars) to do a minor redesign and move the panels so the window would fit with the appliance placement.
First, when they put the appliances in the shell to make sure everything fit, they discovered that the refrigerator covered part of the “kitchen” window. We aren’t quite sure how we didn’t catch this on the many iterations of the design plans, but the upside was that it was only a few hours’ work (and a few hundred dollars) to do a minor redesign and move the panels so the window would fit with the appliance placement.
This is the refrigerator in line with the toilet and the washer. It looks okay here, but when it was actually placed where it would go when the shower pan and wall are installed, it would have covered part of the window you can see in the upper right corner of the photo.
This is the view from the door looking at the kitchen sink and the stove. The refrigerator is just to the left of the sink. The primary reason for setting things out like this was because there will be a box/bench on the floor to the right of the stove, and we needed to make sure the box was built to fit.
This is the placement of the refrigerator, sink, and stove after the panels were moved to shift the windows towards the front of the camper. Perfect!
Just for reference, you can see the toilet and washer behind the fridge. A wall will be built to separate the bathroom from the kitchen.
The other space check we accomplished was to make sure the water heater was able to be properly installed with the exterior door hole placed correctly in the rear utility area. That fit was perfect, with plenty of room for wires, and water and gas hoses…as well as for hands to do the work.
This is the CAD of the placement of all the pieces, without walls or windows. The back utility area has butane tanks, water heater, and pressure tank. The area with green on the bottom is the bathroom, with the shower tray, washer, and composting toilet. The kitchen line is the refrigerator, sink, and stove, with the utility box/bench on the floor. The second reason this turned out to be a good thing was that Tom and Justin came to the realization that we needed to pay more attention to our plans for the interior of the camper. Our original high level plan had been for Koops’ to build just the shell, and we would then regroup while we decided what we wanted to do with the interior. But, Tom and I had already put a lot of thought into interior plans, and this burp made it clear that some of the shell design would be dictated by interior plans. So, on Wednesday, Tom and I both went to Koops’ and spent all afternoon working with Justin on interior plans.
The first thing we talked about, which is one of the features that is not essential but which makes me really happy, is a fold-down counter with a swinging spice rack, seen to the right of the stove near the center of the photo. That piece of counter will swing up and attach to the wall, and the spice rack will hang down, as can be seen one photo above. When the counter is folded down, the spice rack will swing out and hang flush with the stove.
We then worked on the bed. The cabover is not the full 80” of a queen mattress, so we are going to have a folding mattress made, and mount the whole thing on a slide-out drawer which we can pull out so we can fold the mattress down when we want to use the bed. The drawer slides are rated for 500 pounds, so in theory, Tom, me, and the three dogs should be able to sit on the end of the bed.
Tom was already on the phone with Justin this morning talking about cabinet adjustments, but the basic plan for the next couple of weeks is to move forward with what we’ve already discussed and trouble shoot as we go. Stay tuned for more progress updates!


