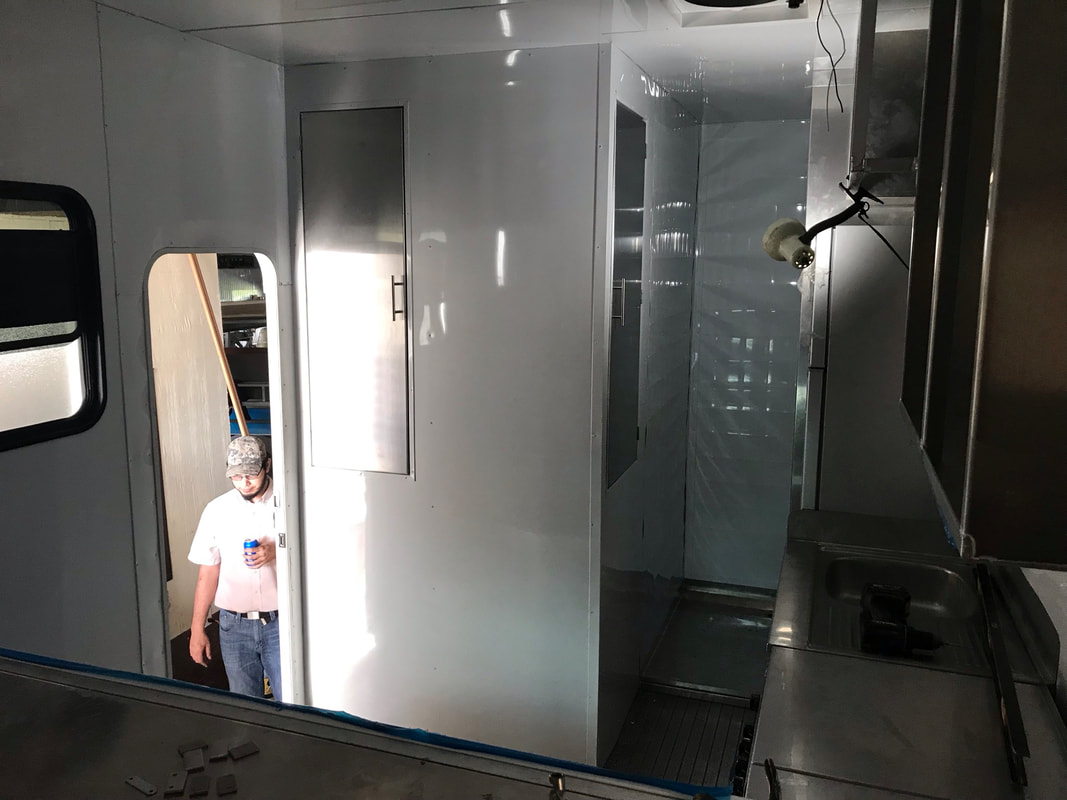
Without having the camper here to touch and feel, there have been a few things that Tom and I will suddenly start discussing in the middle of the night when one of us realizes the other is also awake worrying about camper details. We took an hour or so this afternoon the alleviate some of those worries.
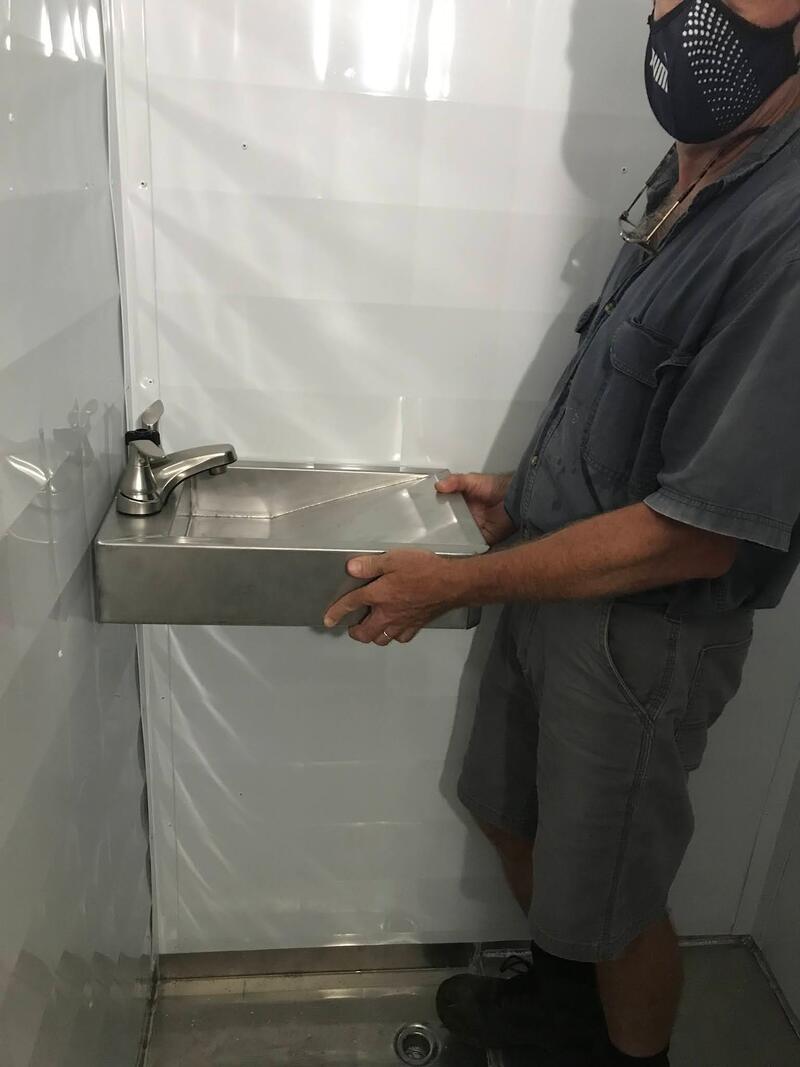
In the bathroom:
In the bathroom:

The washer AND the toilet fit as designed, and we don’t have to do major construction to empty either part of the composting toilet. We also both tested it, and we don’t have to curl into the fetal position to use the toilet.
In general:
In general:

We have a closet deep enough for hangers!

We bought a refrigerator with a lock to keep the door from opening when we move, but had Koops’ replace the plastic guard with a metal one with a smaller hole so the door couldn’t even crack open.

We drove home with the lock locked, and it worked!
In the kitchen:

My favorite baking sheet fits in the oven.
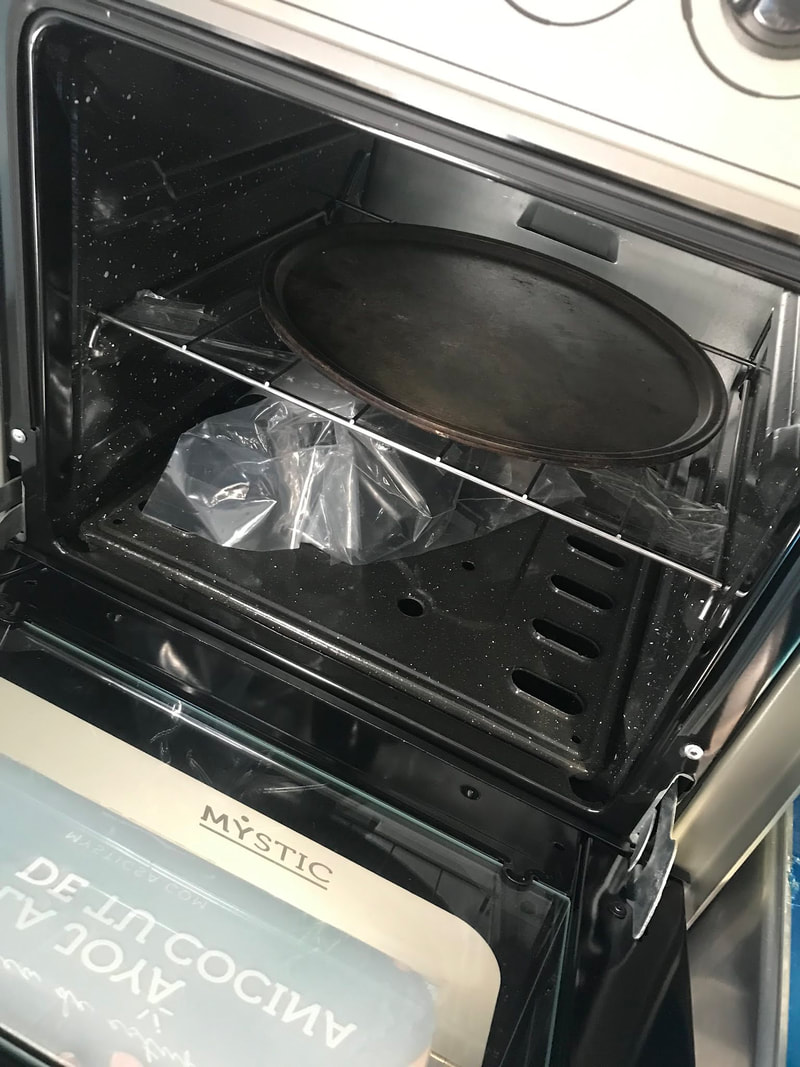
My pizza pans will also fit.

The two-sided cast iron griddle is a perfect fit.

And the Dutch oven’s legs straddle the burner tops.

My favorite cutting board can either cover the sink…

…or fit over the drainboard.

And the spice rack can hold a small bottle of Marie Sharp’s, regular and tall normal spice jars and pepper grinders, and a medium spice jar.