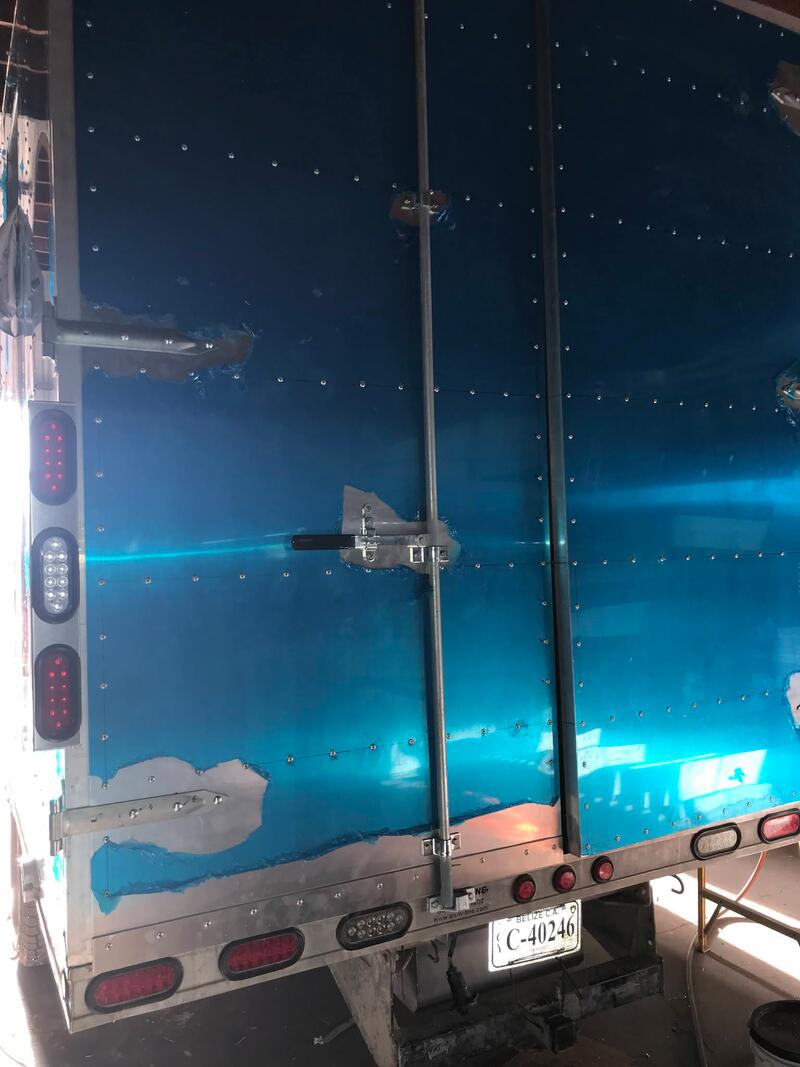
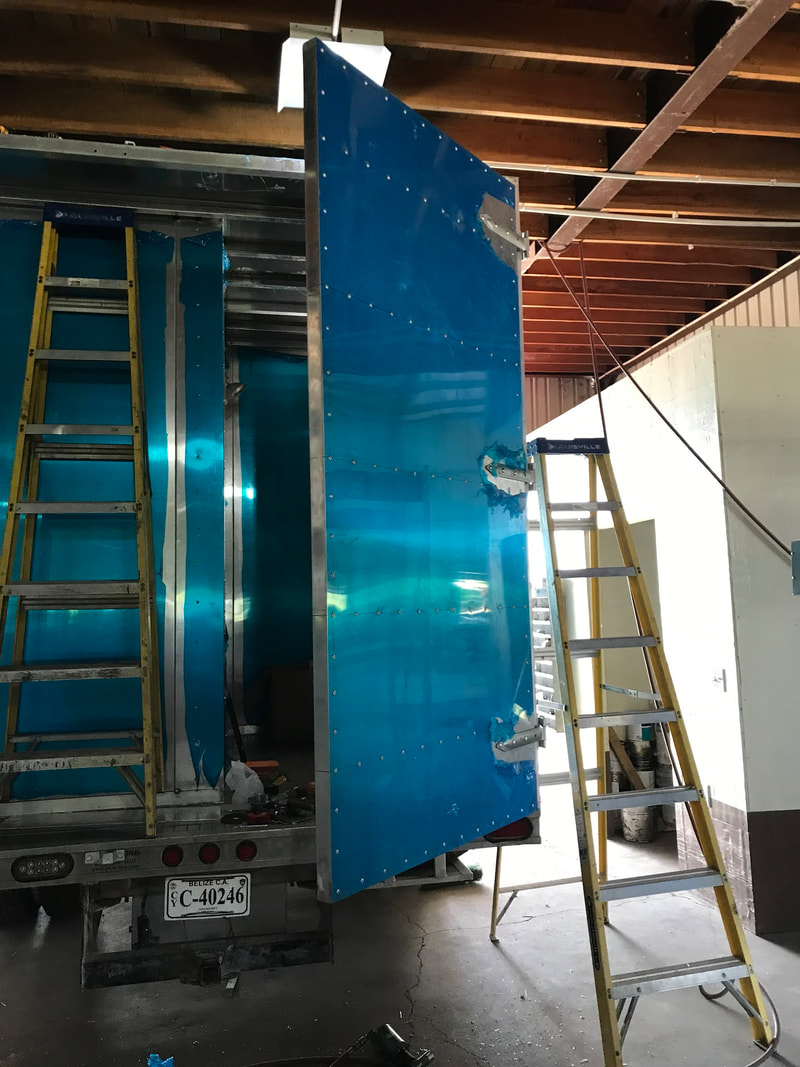
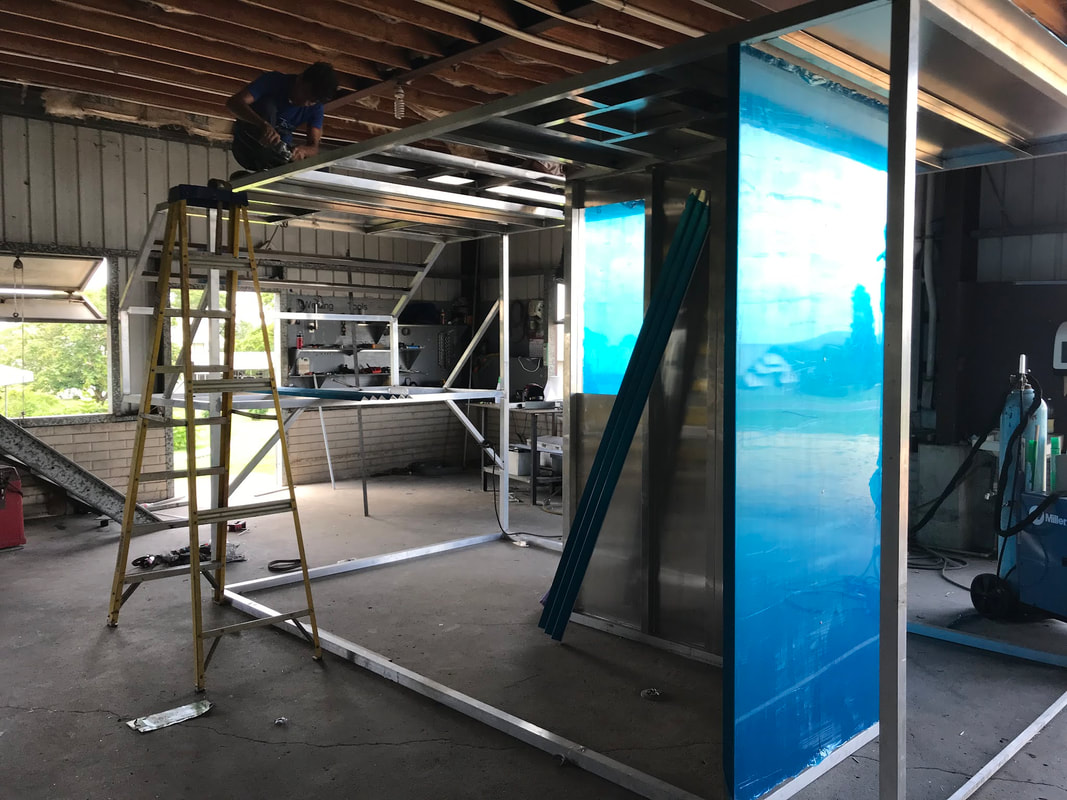
Progress on the camper over the last couple of weeks has again been going in fits and starts, with a number of things happening in the back of the shop so we don’t see anything when we look at the camper. But, there are a few things that Tom has been itching to work on with the rig, like getting air compressor stuff put together, so at the beginning of last week, he asked Justin if we could plan to bring it home for the weekend. This meant that a few things had to happen: the bathroom window had to be installed, all the roof vents had to be installed, the water heater had to be put in so that access hole could be closed, the two utility doors to the outside from the bench/utility box in the camper had to be finished, and they had to figure out a way to keep both back doors closed since only one of the big latches has arrived. We pulled into the shop yard at about 4:30 on Friday afternoon, and Marcos and Nelson were hard at work on the last few finishing touches…but they made it. And, we discovered that it was something of a whole shop event to see the rig pulled out, ready to drive down the road. Although the guys at Koops’ have pulled the rig in and out on Monday mornings to sweep, this is the first time it has been pulled out to be driven down the road. Everybody who has been involved in the project so far, which is pretty much everybody in the shop, wanted to watch. Marcos had to make sure it looked presentable before going out in public. This only caused a little stress, because I followed in the Isuzu and watched something dripping on the road the whole way home. I was worrying that a couple of months of sitting in the shop had something essential leaking, but it turned out it was just water pooled somewhere from the power wash. followed the camper up the road towards home. It looked gigantic in the shop, but on the open road it looked, well, normal. Even though it looked pretty normal sized driving up the road, I went up the driveway first not only to video this momentous event, but also to make sure the top wouldn’t run into any wires or branches. Tom had thought to trim a bunch of branches last week in preparation for pulling into the driveway. 
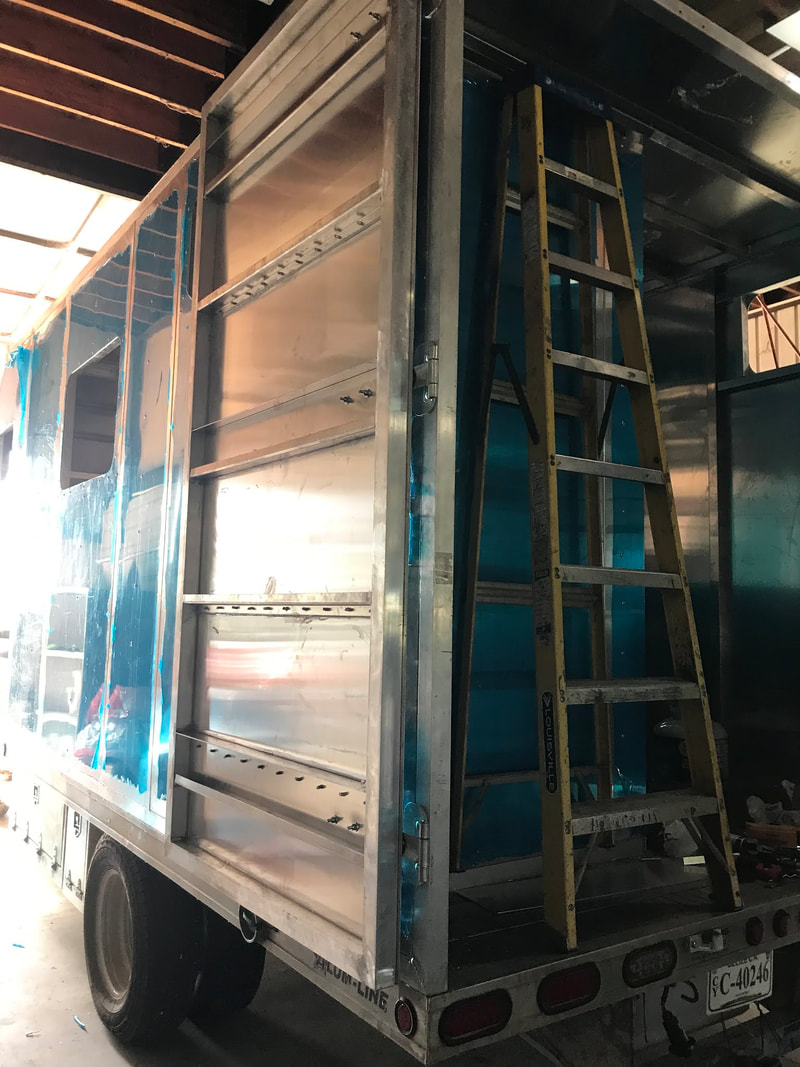
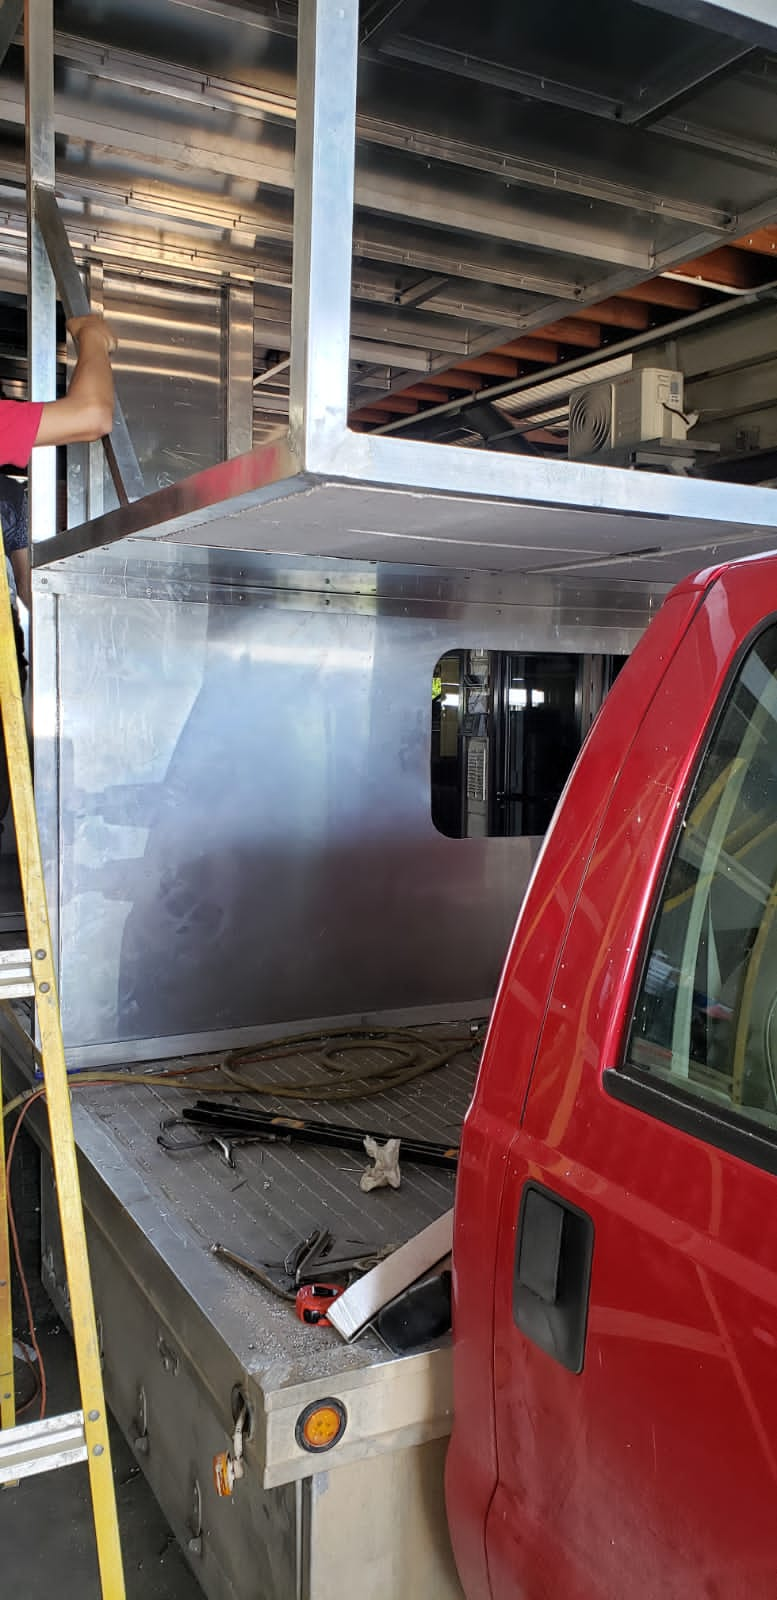
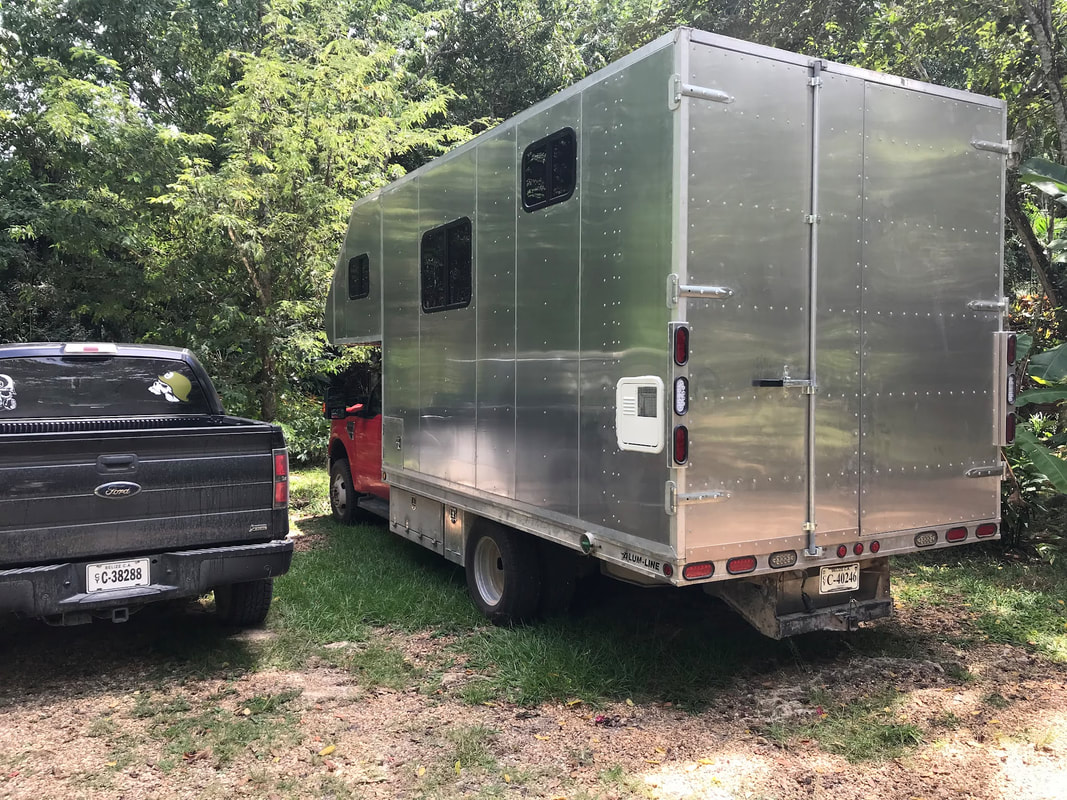
One of the main reasons for bringing it home was so Tom could finish up the dual air compressor system and get it installed in that open box you can see just in front of the back wheel. The truck came with two air compressors, one for the AirRide suspension system, and one normal air compressor as backup and to do normal air compressor things like blow up tires. However, none of it was protected, so the hose would dangle and catch on things, and the whole system would get dirty. Now, it will be easy to switch between the two compressors, and everything will stay neat and clean. 
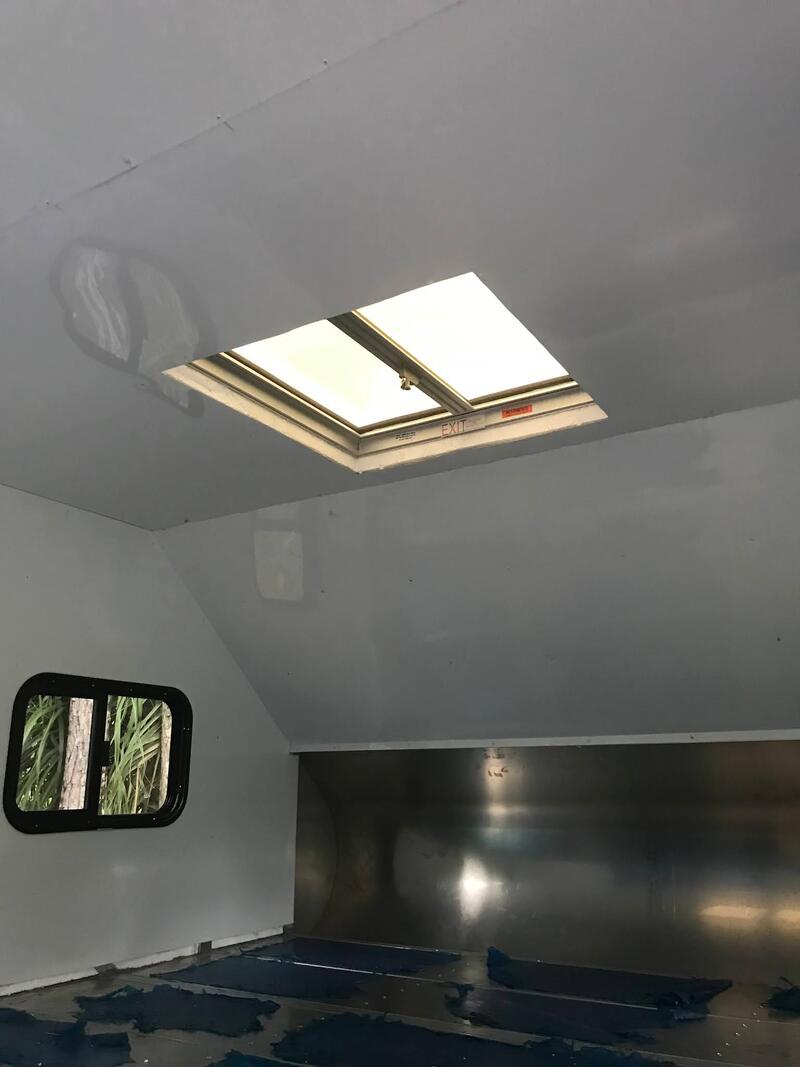
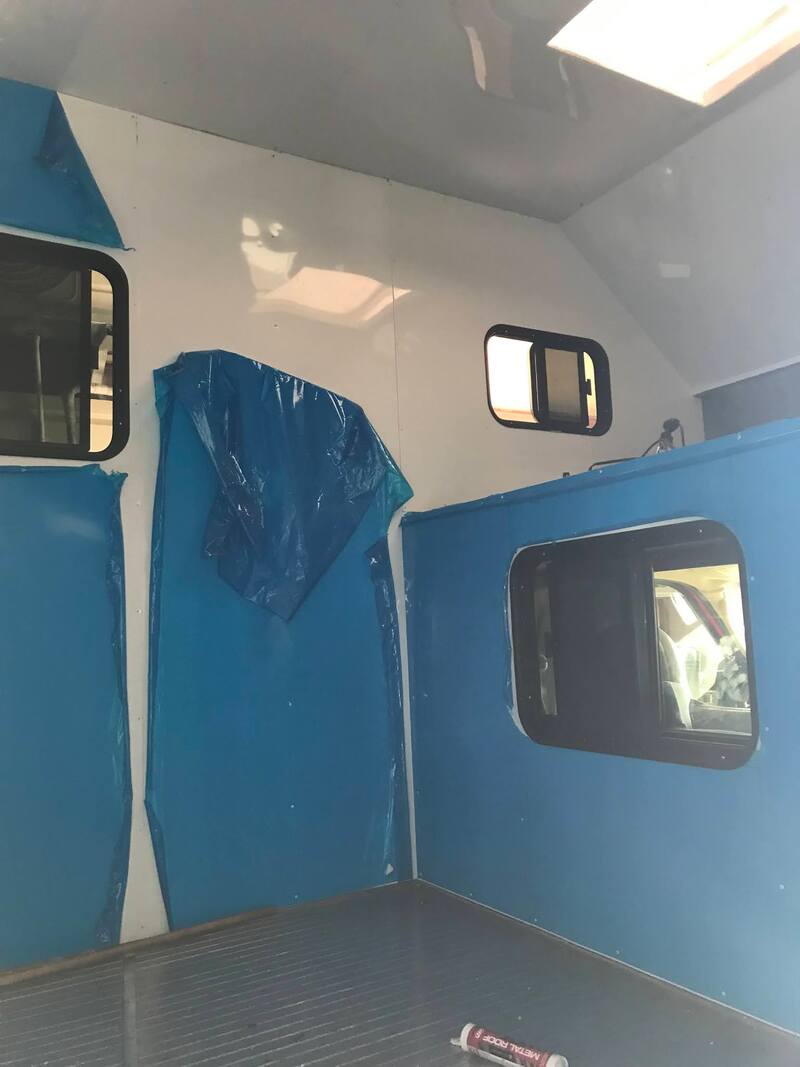
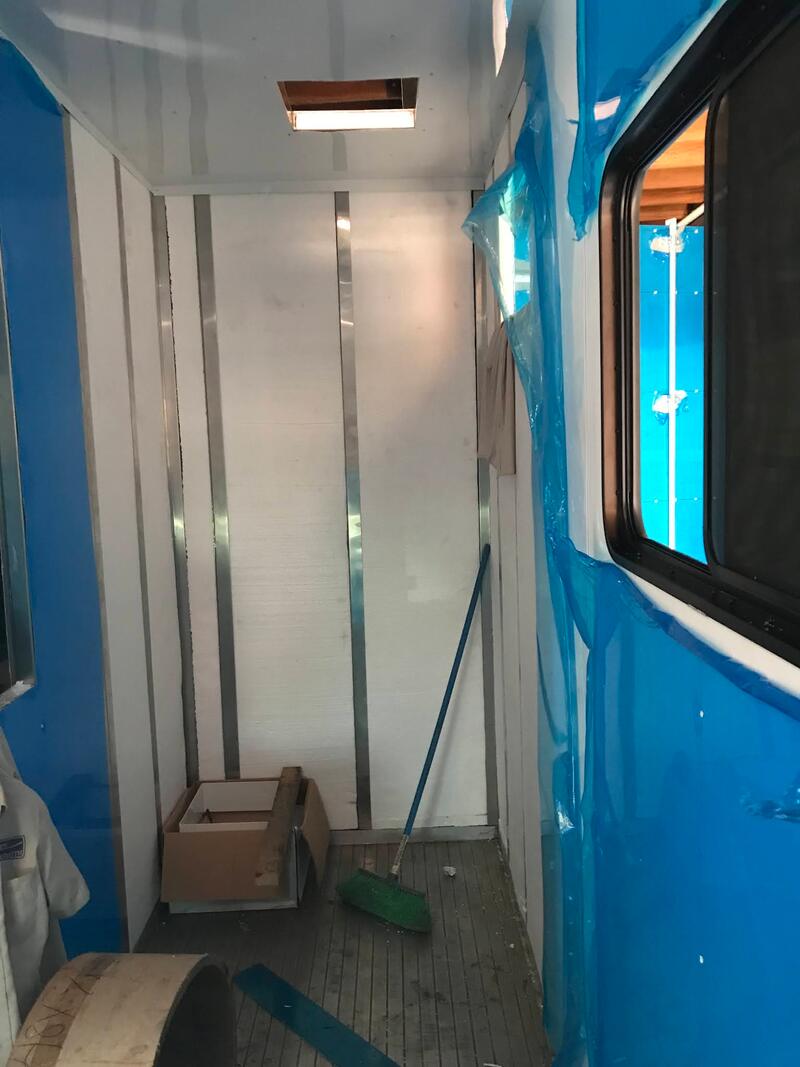
Roof vents are in! The two smaller ones are over the bathroom and the kitchen, and the larger is an escape hatch over the bed. 
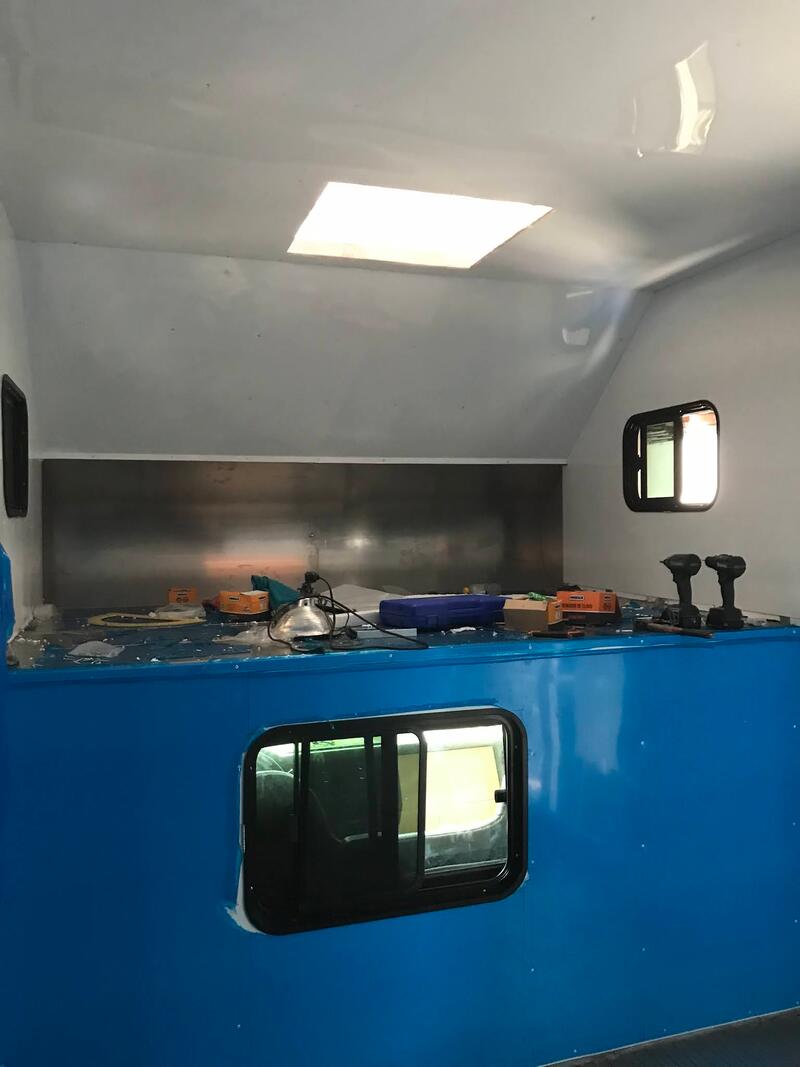
This box has utility compartments on either side, and the middle will contain two water tanks, each approximately 35 gallons. Lids will be put on all three compartments, and we will add a cushion for a bench. Another smaller box will contain batteries off the right side of this box, so this L will be our dining area.
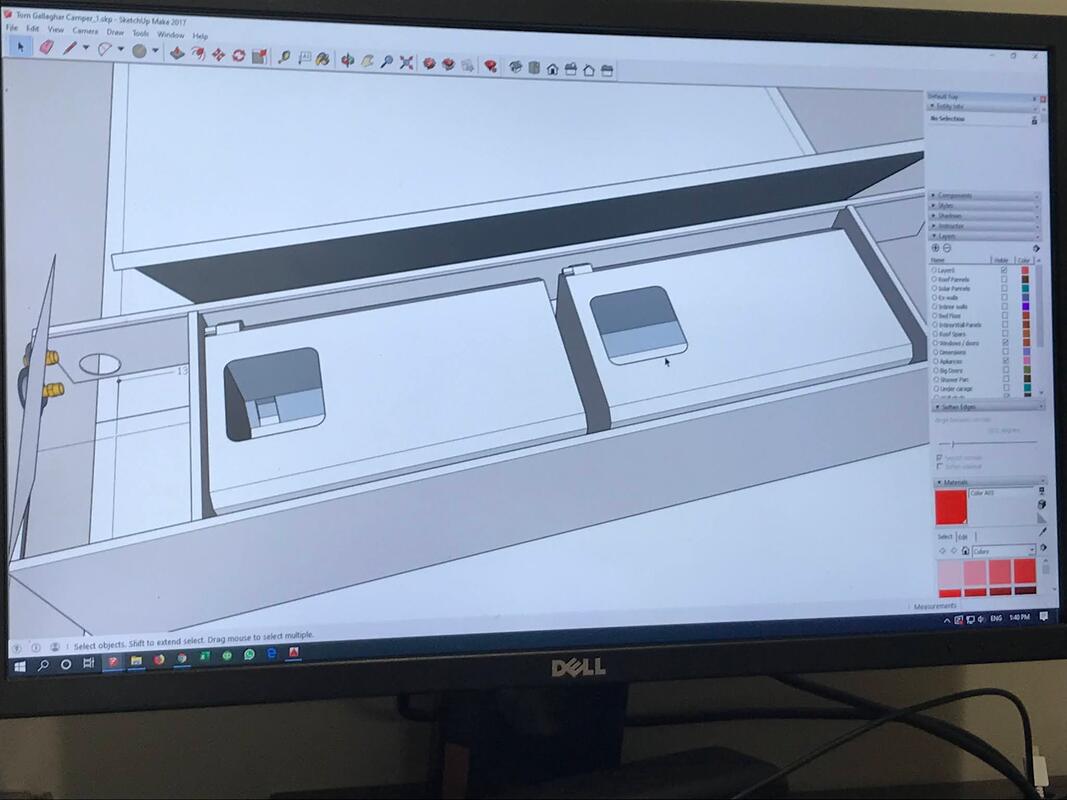
 Closeup of the utility box that will hold most of the plumbing components, like the water pump and valves to fill the tanks from the outside, or connect to shore hookups. 
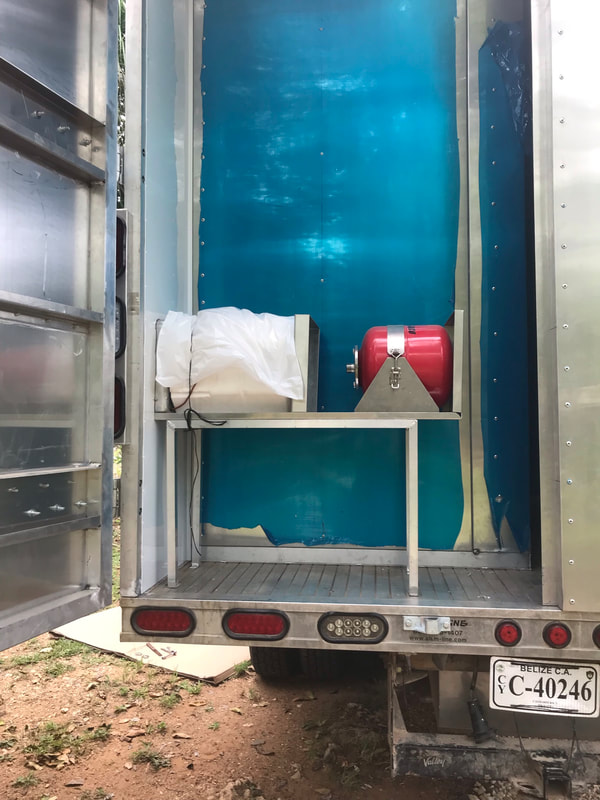
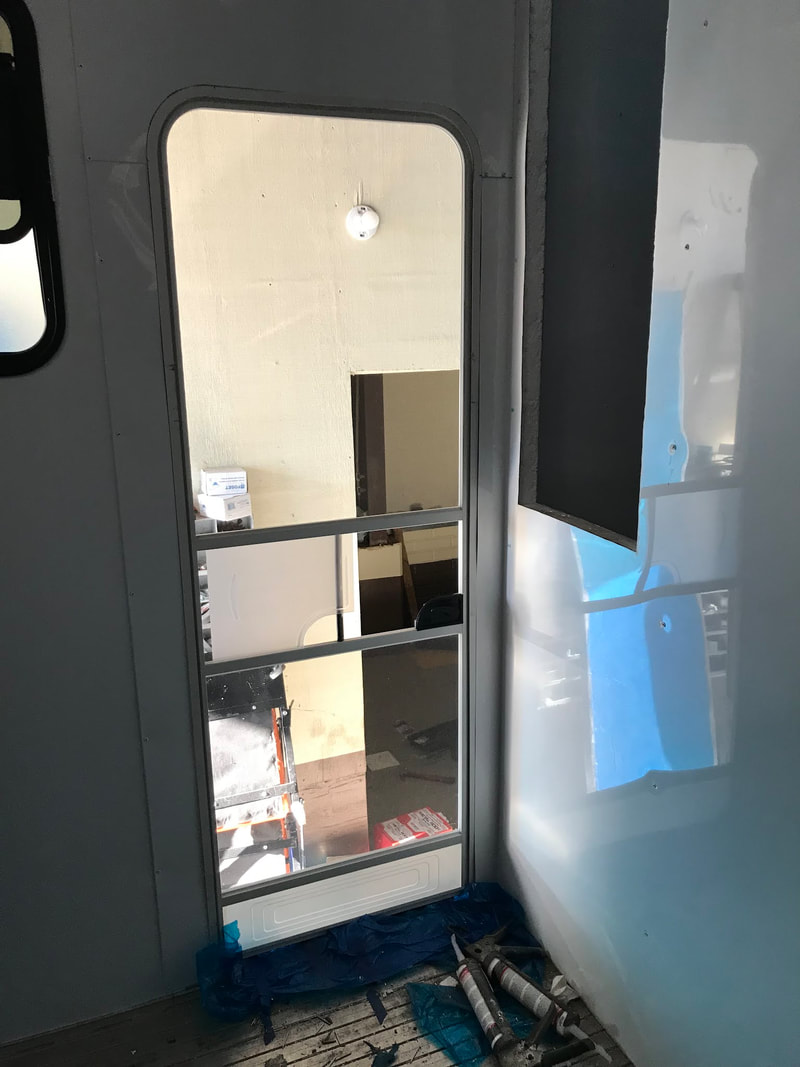
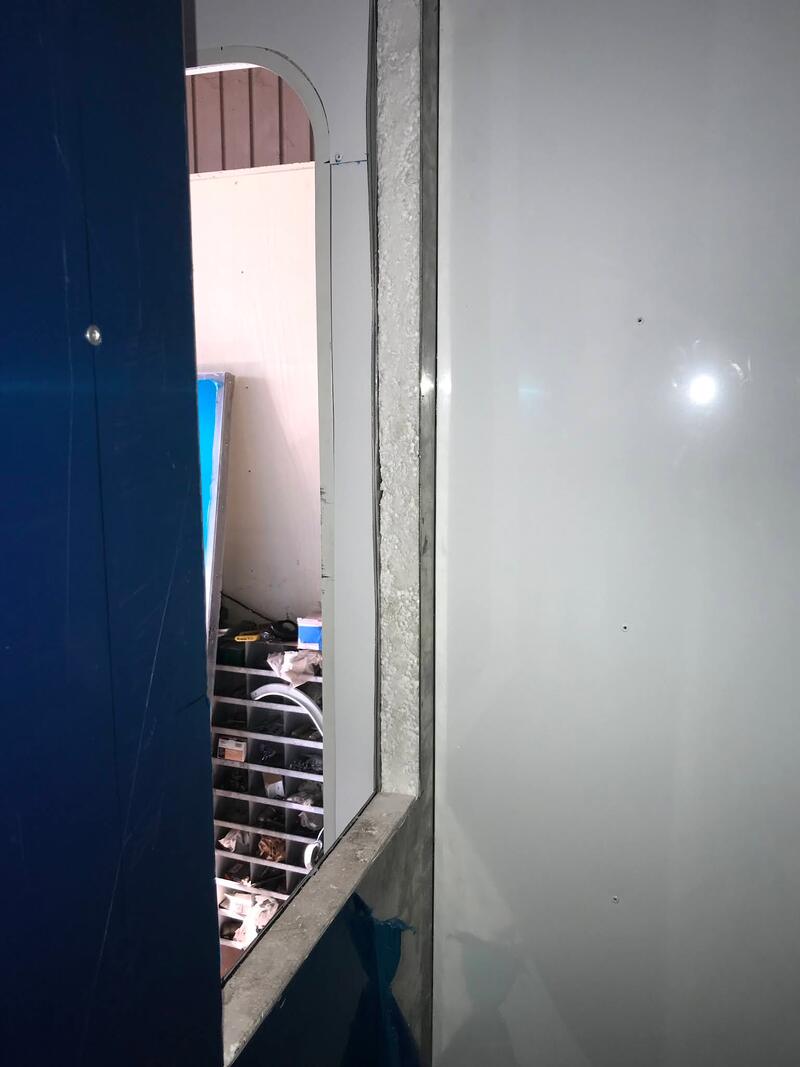
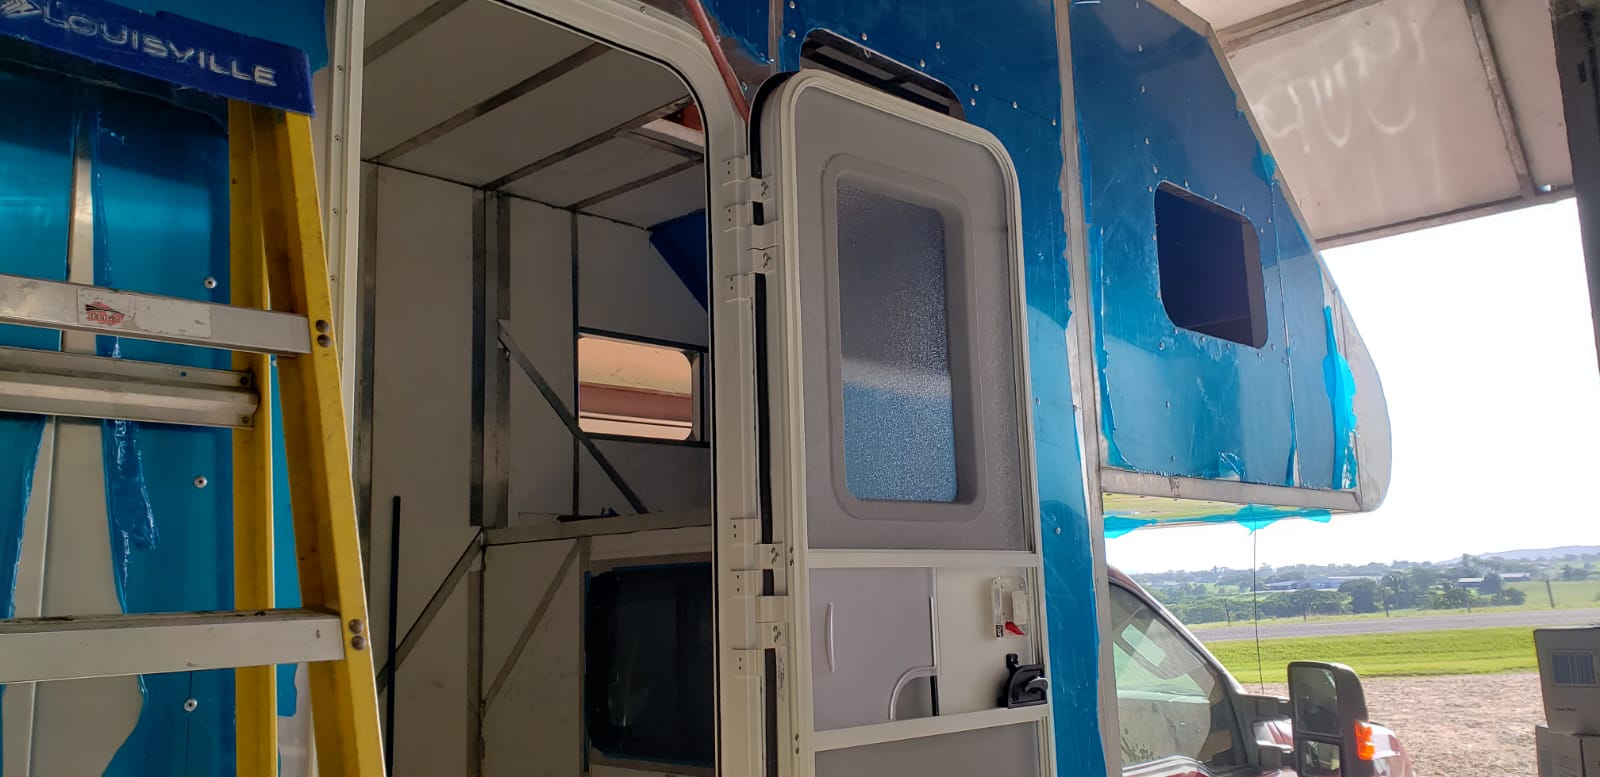
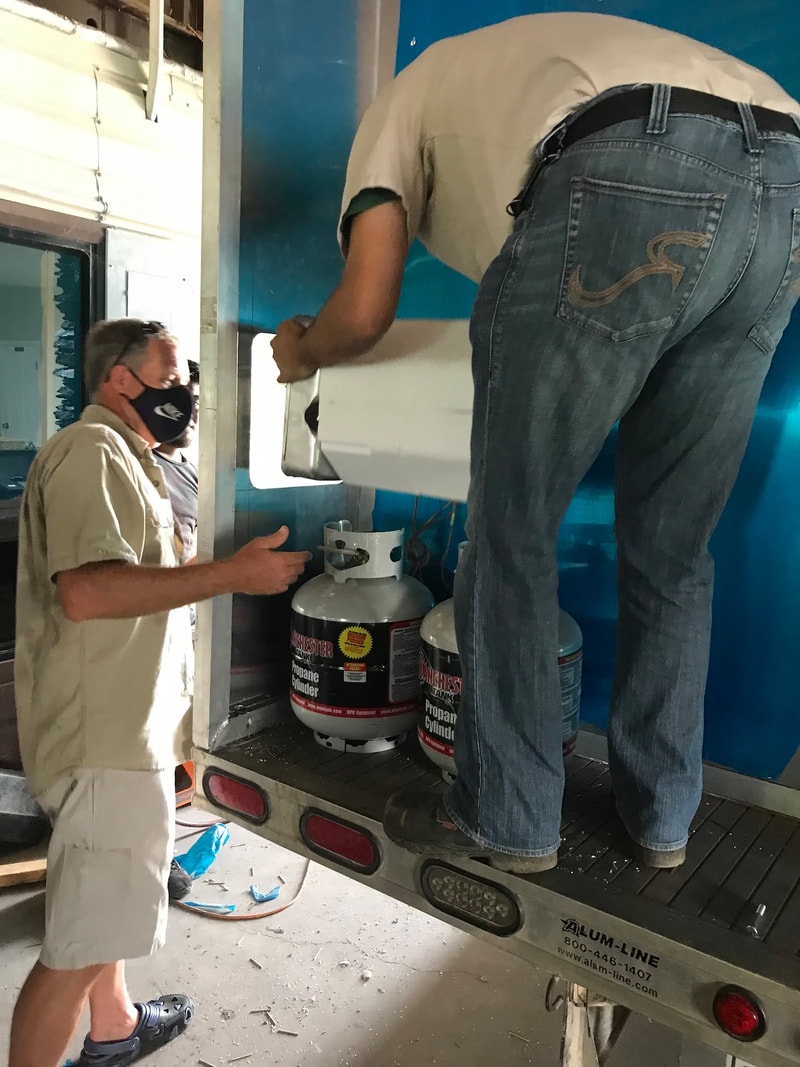
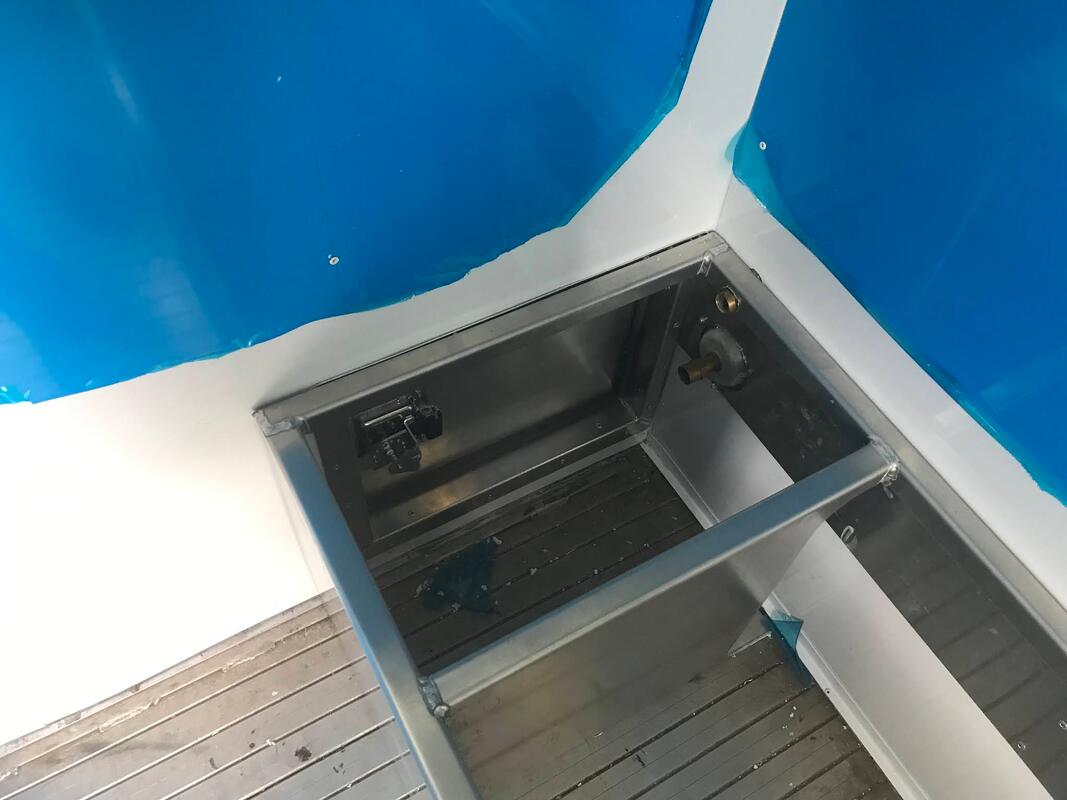
In the back, the rack to hold the water heater, water pressure tank, and two small butane/propane tanks was installed. The water heater controls are accessed through a door on the side of the camper. We will be taking the camper back by 9AM tomorrow, Monday, morning so progress can continue. We are really excited to see what comes next!
0 Comments
Yesterday was really exciting. We had visited the camper on Tuesday, and weren’t overly impressed with the progress. So, we went back yesterday, Friday afternoon, and we were amazed at how much was done in three days. The taillights are on, the back door latch is on, most of the interior walls are up, and windows are installed. Things are in place for the bathroom to be done early next week, and then they’re moving on to “accessories,” which is basically everything we are having installed in the shell: appliances, cabinets, water tank and utility boxes, etc. This is the screen part of the door, shut. Justin had sent us a photo of the door installed, but this is the first time we had seen it in person. The open space to the right of the door is going to be a closet, which will extend into the motorcycle garage over the wheels of the motos. The past couple of weeks haven’t been exactly inspiring for progress, partly due to some unavoidable work slowdowns, and partly due to things being done “under the hood” so the progress hasn’t been visible. However, we visited the camper at Koops’ on Monday, and then Justin sent us some photos yesterday, so it looks like things are moving along again. This is basically a DOORS update. The back doors have been manufactured and installed, and the side entry door is hung. The guys in the shop have also been working on installing the insulation, which has to be done before the interior walls can be put up, which has to be done before the windows and roof vents can be installed. So, slow but steady… After visiting Koops’ on Friday and delivering all of the appliances, Tom scheduled to spend most of Tuesday there to do some more design, and to be available for questions. This turned out to be a very good thing, for two reasons. First, when they put the appliances in the shell to make sure everything fit, they discovered that the refrigerator covered part of the “kitchen” window. We aren’t quite sure how we didn’t catch this on the many iterations of the design plans, but the upside was that it was only a few hours’ work (and a few hundred dollars) to do a minor redesign and move the panels so the window would fit with the appliance placement. This is the refrigerator in line with the toilet and the washer. It looks okay here, but when it was actually placed where it would go when the shower pan and wall are installed, it would have covered part of the window you can see in the upper right corner of the photo. This is the view from the door looking at the kitchen sink and the stove. The refrigerator is just to the left of the sink. The primary reason for setting things out like this was because there will be a box/bench on the floor to the right of the stove, and we needed to make sure the box was built to fit. This is the placement of the refrigerator, sink, and stove after the panels were moved to shift the windows towards the front of the camper. Perfect! Just for reference, you can see the toilet and washer behind the fridge. A wall will be built to separate the bathroom from the kitchen. The other space check we accomplished was to make sure the water heater was able to be properly installed with the exterior door hole placed correctly in the rear utility area. That fit was perfect, with plenty of room for wires, and water and gas hoses…as well as for hands to do the work. This is the CAD of the placement of all the pieces, without walls or windows. The back utility area has butane tanks, water heater, and pressure tank. The area with green on the bottom is the bathroom, with the shower tray, washer, and composting toilet. The kitchen line is the refrigerator, sink, and stove, with the utility box/bench on the floor. The second reason this turned out to be a good thing was that Tom and Justin came to the realization that we needed to pay more attention to our plans for the interior of the camper. Our original high level plan had been for Koops’ to build just the shell, and we would then regroup while we decided what we wanted to do with the interior. But, Tom and I had already put a lot of thought into interior plans, and this burp made it clear that some of the shell design would be dictated by interior plans. So, on Wednesday, Tom and I both went to Koops’ and spent all afternoon working with Justin on interior plans. The first thing we talked about, which is one of the features that is not essential but which makes me really happy, is a fold-down counter with a swinging spice rack, seen to the right of the stove near the center of the photo. That piece of counter will swing up and attach to the wall, and the spice rack will hang down, as can be seen one photo above. When the counter is folded down, the spice rack will swing out and hang flush with the stove. We then worked on the bed. The cabover is not the full 80” of a queen mattress, so we are going to have a folding mattress made, and mount the whole thing on a slide-out drawer which we can pull out so we can fold the mattress down when we want to use the bed. The drawer slides are rated for 500 pounds, so in theory, Tom, me, and the three dogs should be able to sit on the end of the bed. Tom was already on the phone with Justin this morning talking about cabinet adjustments, but the basic plan for the next couple of weeks is to move forward with what we’ve already discussed and trouble shoot as we go. Stay tuned for more progress updates!
We’ve been busy with a bunch of non-camper related things, but Koops’ has been hard at work and making great progress on our camper. Photos posted below show the progress over the past couple of weeks. We are really happy with how it is taking shape, and with the extensive planning we did prior to starting the build, we have had relatively few issues. A few things have popped up, like we found that the frames of the RV windows we ordered were not as uniform in thickness as we expected, so the minutely measured foam insulation panels had to be fine tuned. We also had a brief panic because Justin was afraid the cab over would hit the running lights on the top of the truck cab, but as it turned out there was plenty of tolerance. And even before starting the build, Justin measured the bed and found that it was two inches short of fourteen feet, but we just cut that off the back of the camper and it turned out to be inconsequential. Just yesterday, we decided better safe than sorry, and we took all of the appliances over to Koops, so they can make sure everything fits before they install walls. So, photos… This is the frame, with the roof and internal wall being built in the shop before it was put on the truck. The finished frame and internal wall was put on the truck, and it was moved to a different bay to build the outside walls. Once it was moved to the taller bay, they started putting on the skin. They slipped it back off the end of the bed so they could do the floor of the cab over. We were a little worried when we pulled up because they had a tarp over the truck cab and the hood was up, but they told us it was because they were welding and didn’t want any sparks on the paint or around the battery, which they disconnected. The next time we came, they had mounted it on the bed, and done all the walls except the long driver’s side wall. We were a little surprised how tall it is; it is exactly the measurements of the design, but it looks and feels very tall. Total height in the end will probably be around 12 feet, with the inside of the camper around 8 feet. We don’t need this much height, even for the bed in the cab over, but it ends up being the same price as if we made it a foot or a foot and half shorter since we would pay for 8 foot panels anyway, and it doesn’t add much weight but gives us a lot more room for storage, so all good.
|
Meet the Moonracers
Tom and Marge are taking Moonracer Farm On The Road Again. Follow our journey to build an expedition vehicle and travel! Archives
January 2024
Categories |